- Design
- Development
- Simulator Tests
- Construction 01
- Construction 02
- Construction 03
- Construction 04
- Construction 05
- Construction 06
- Construction 07
- Construction 08
- Construction 09
- Construction 10
Construction 09 (Parts Fabrication and Prototype Build)
The fuselage molds were cleaned, waxed, and given a coat of PVA. Then they were sprayed with white primer. Tomorrow, I'll be vacuum bagging a fuselage for flight testing. Now I 'm having fun!
Here's the fuselage top, out of the vacuum bag, looking good.
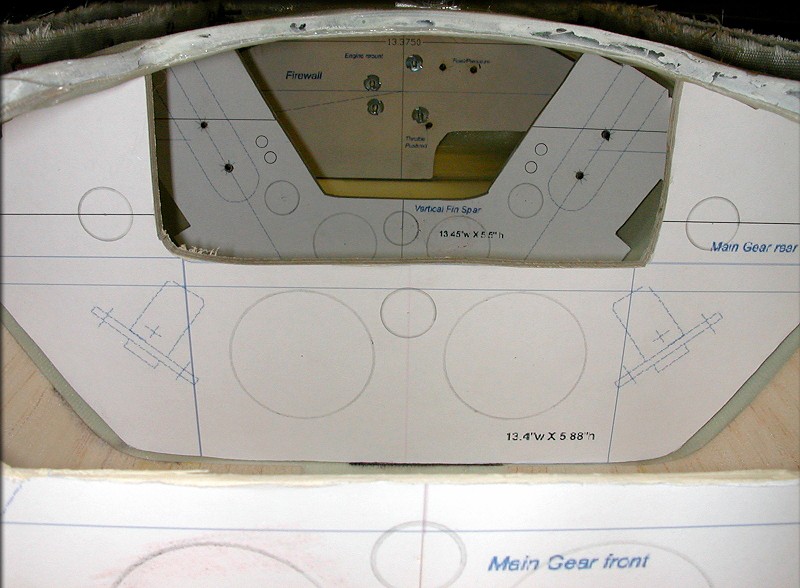
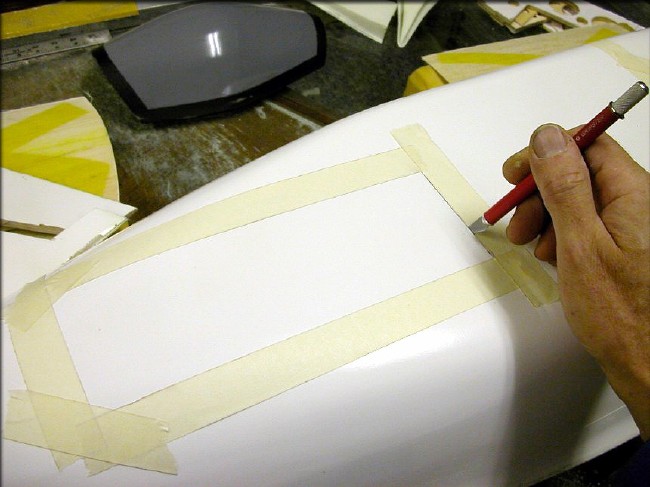
Painting in the mold has it's advantages... To aid in aligning the gear door reinforcements, I was able to simply draw the outlines and make reference marks.
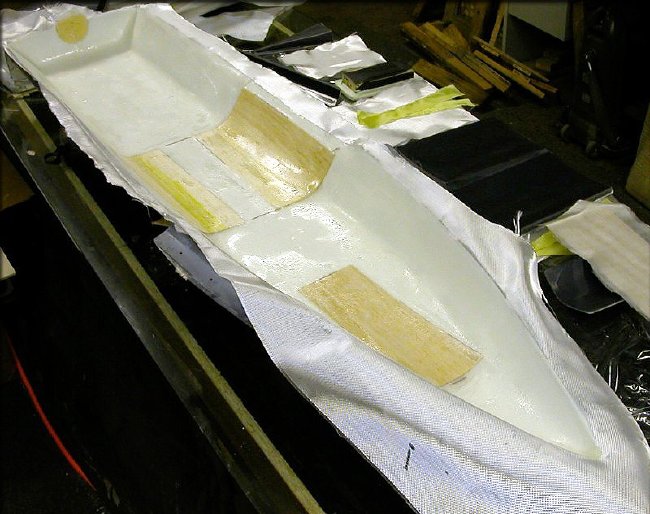
The 1/32" balsa reinforcements and the 1/8" lite ply spinner ring are laminated between two layers of glass.
Both fuselage halves are cured now. The glass is so clear that it's not easy to tell that the balsa reinforcements are actually between two layers... Nice.
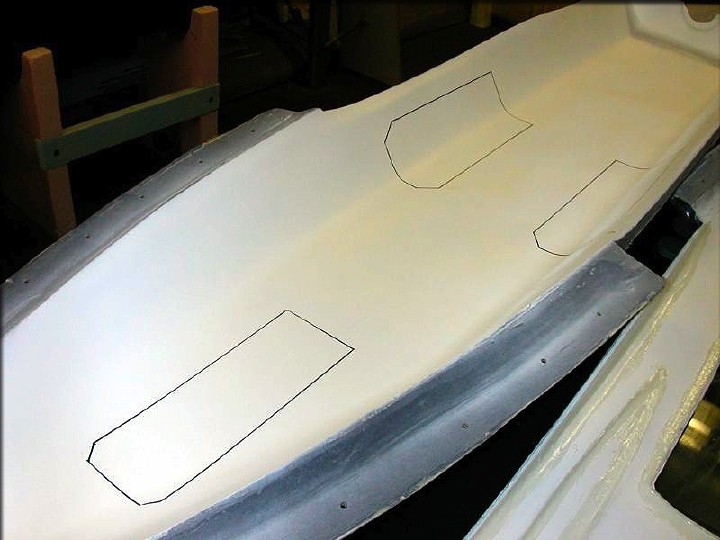
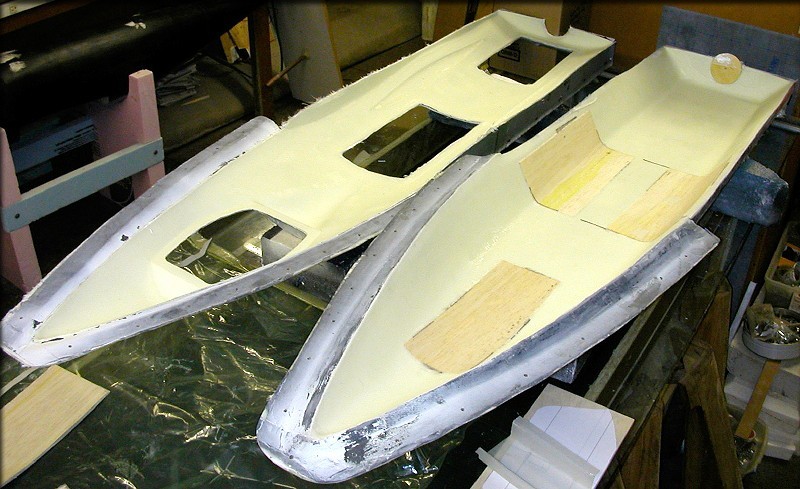
The fuselage halves are being joined, and this presents an opportunity to double-check the fit of all the formers. Minor adjustments were needed on the ones where the balsa landing gear door reinforcements were added, since there's added thickness there. Lightening holes have been marked, but not cut out yet.
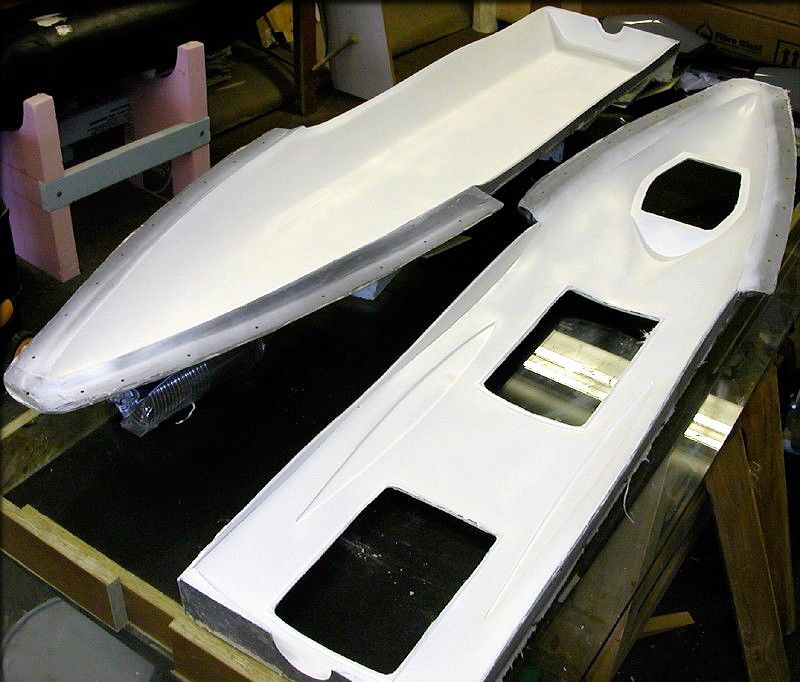
Here's the first fuselage, joined.

The unpainted hatches are test-fit. (The yellow X-shaped areas are strips of Kevlar, for stiffness.
The canopy I made several weeks ago is also test-fit. Everything looks good so far.
For those of you looking very closely at the photo above... This prototype fuselage did not have the formers installed when I pulled it from the mold, but production versions will. With that being the case, I actually damaged the fuselage, breaking the seam in a couple of places . That's ok. I'll repair these little dings, and this fuselage will be fine for flight testing. With the formers installed, the fuselage can be pulled from the molds without any stress on the seam, so I don't see any problems.
The wing molds are ready to go, and are next.
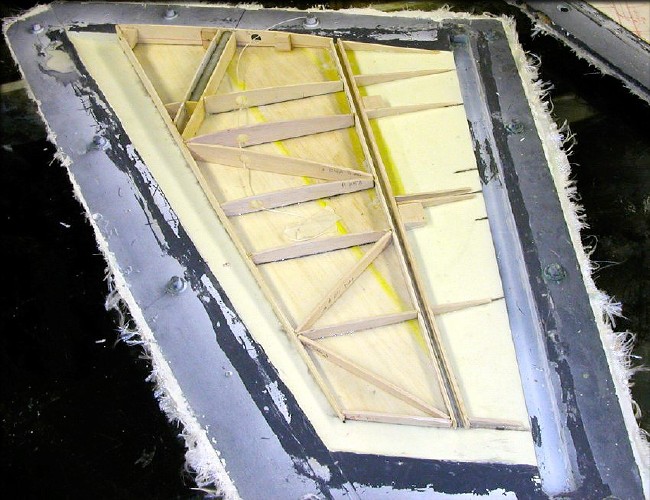
I used the etched lines in the molds as a guide, and traced some key lines with a black "Sharpie" pen.
That helps me double-check the position of some of the internal parts, as I install them before mold joining.
Although I furnish separate molded doors, the doors are also molded into the fuselage. So... I cut out the doors, using the scribed-in door lines, and had no trouble. They all worked, so I didn't need separate doors. This balsa core sandwich cuts very nicely with an X-Acto blade, and doesn't remove any material in the kerf. Later, the doors are easy to adjust.
I used some vacuum bagged strips of fiberglass to form some simple stops for the gear doors. This is the nose gear door. On all doors, I used the Bob Violett "Offset Hinges", which work very well. They're simple, and nearly weightless.
Another shot of the nose gear area...
Here's the same setup on the right side main gear door.
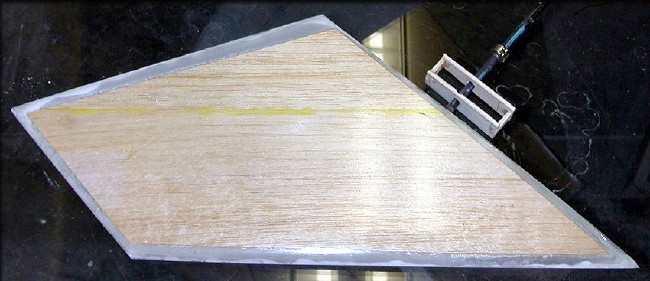
A taileron, out of the mold, along with a mockup of the linkage support that will go inside the fuselage.
After a careful interference check, it looks like the internal structure is right.
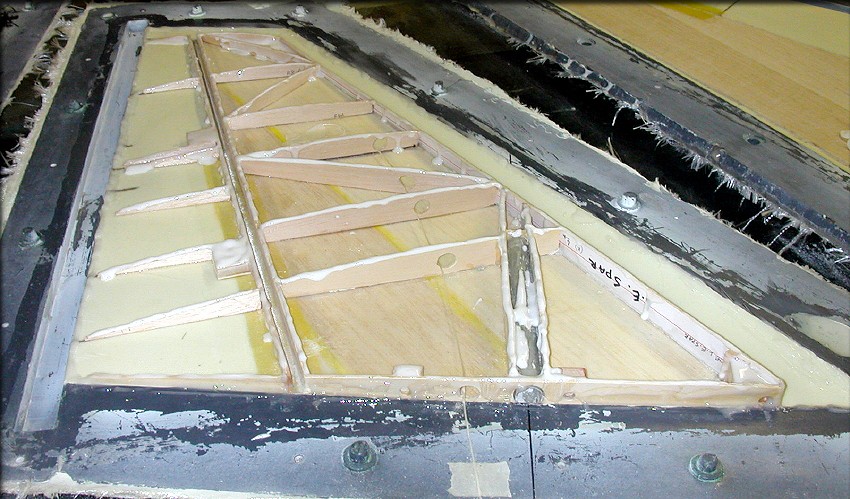
The "goop", on top of all the internal parts, and around the perimeter of the mold. Some of this runs a bit, and that's good, when the mold is turned over, but a hassle while it's in this position. Just keep scraping it off the surface and putting it back on top of the parts, until the molds are joined.
I used a 3-way mixture of epoxy, Cabosil, and microballoons, applied across the tops of all of the internal parts, and all around the perimeter of the mold. The idea was to use the Cabosil to thicken the mixture, preventing it from running too much, and to use microballoons to add volume, which makes the mixture lighter than if Cabosil alone was used. After joining the mold halves, I flipped them upside down, so that any of the mixture that moved would flow onto the opposite side, creating a fillet around the parts. This also keeps the mixture from running into the gap between the trailing edge and the control surfaces, which is needed for free control surface movement. (Kevlar is the hinge material, laminated between layers of fiberglass.)
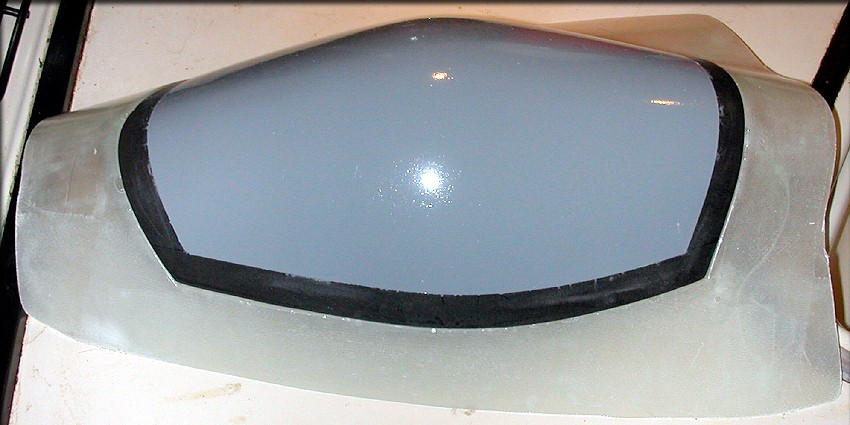
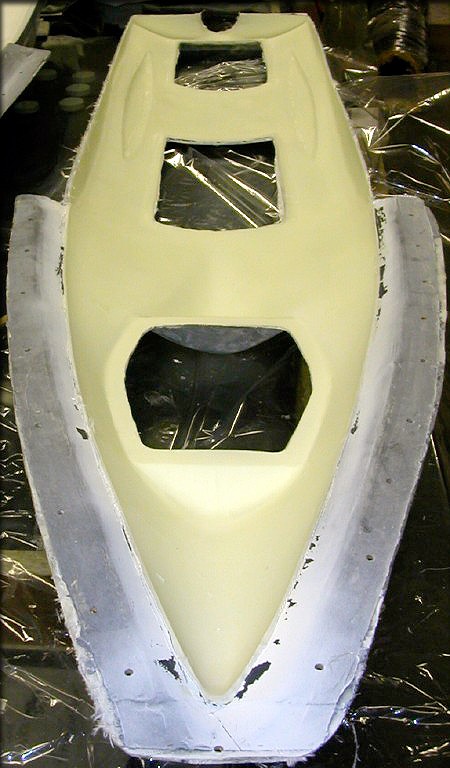
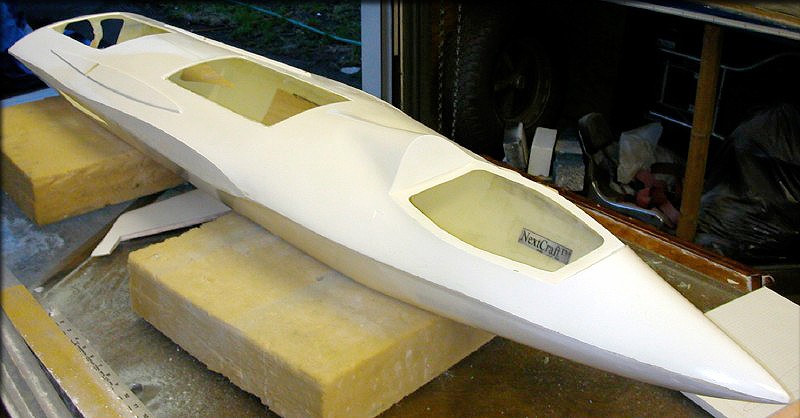
I made a partial layup of just the top forward portion of the fuselage, and have placed one of the prototype canopies on it. This is a little project I'm working on in the background, to create a scale-like interior.
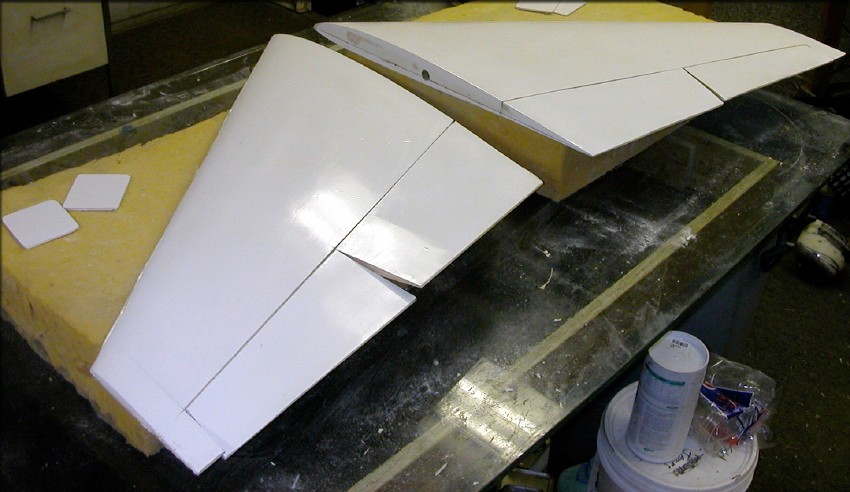
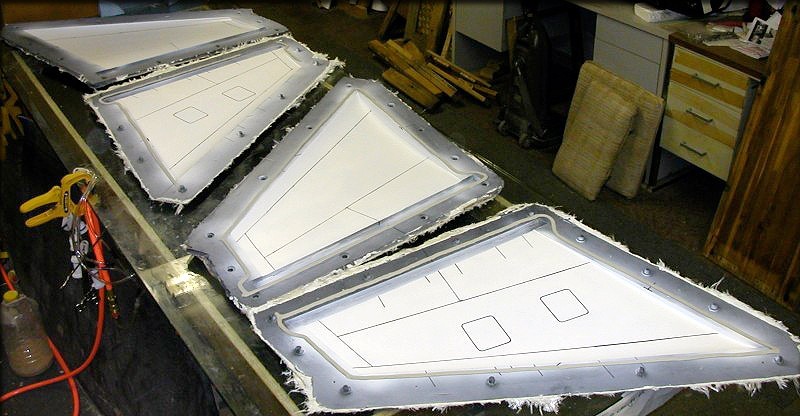
Here are the first wings, joined and out of the molds. I've trimmed the flashing off and activated the skin hinges on the flaps and ailerons.
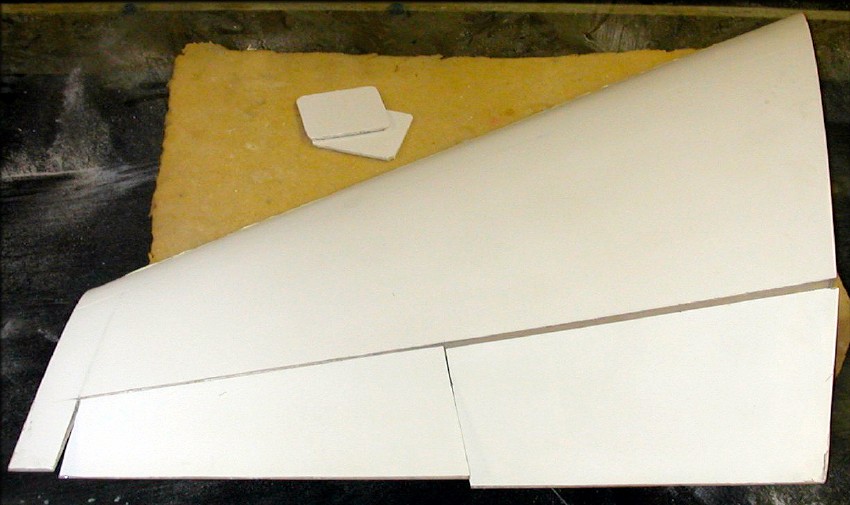
Overall, I'm happy with the results, and these could be used for test flights, but these are not production quality parts yet. There are some issues with the internal parts fit, and the leading edge seam didn't come out as neatly as I would like. I think I need more vacuum.
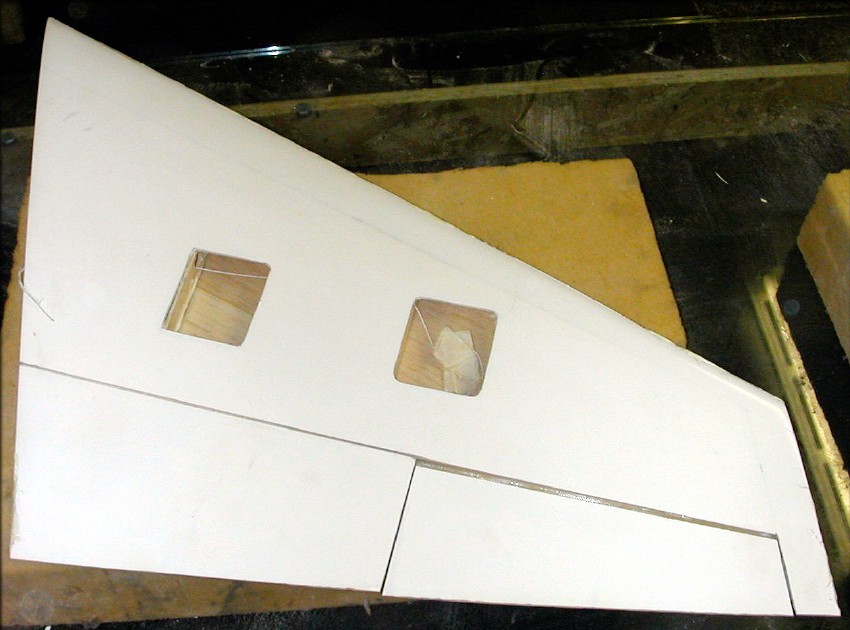
I've cut out the servo hatches, which let me see inside the wing. Some parts fit very well, but some had gaps between them and the skin. This wing is so strong, due to the balsa-laminated skin, that these wings are still flyable, but I definitely need to correct some of the internal parts.
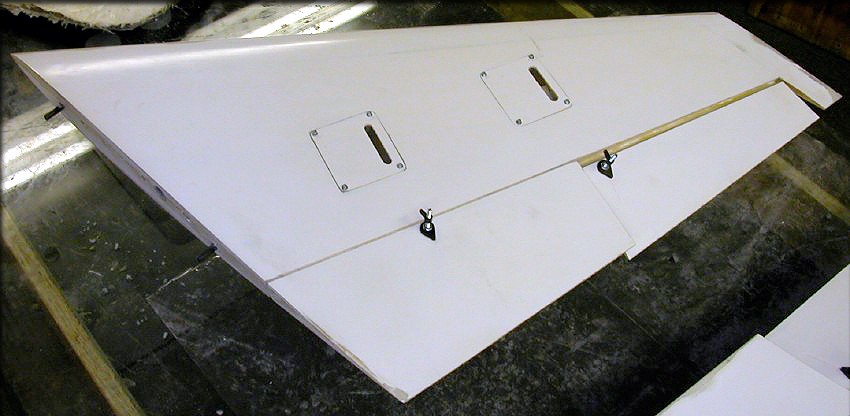
Here are the wings after some filling, and fabrication of the servo mounts, hatches, and control horns.
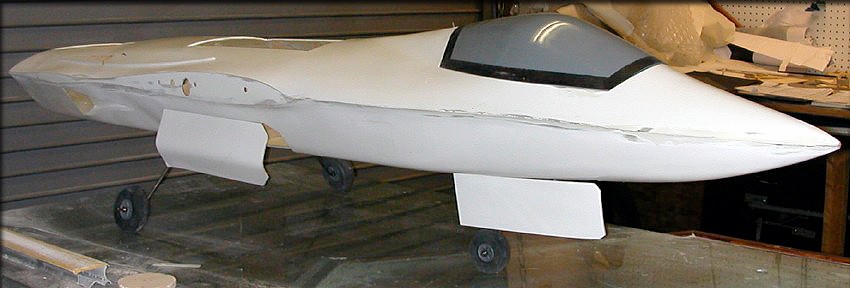
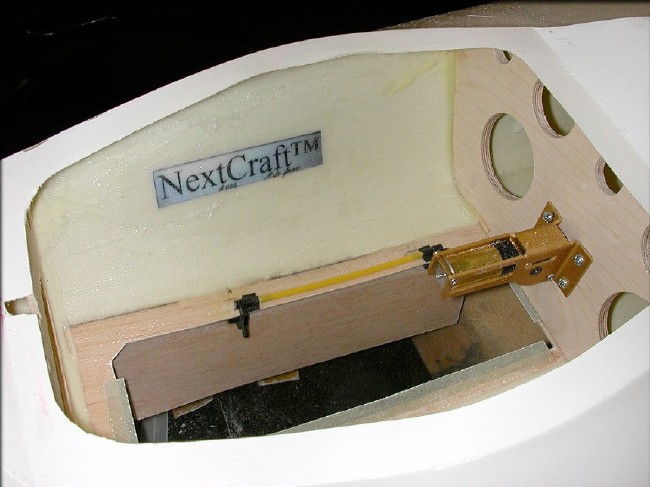
This fuselage has been through "prototype Hell", but is again starting to look right. I've fixed the seam, which I broke when pulling it from the molds. Today, I fine-tuned on the retract installation, and created production gear strut patterns. Everything except the gear closing mechanism is done.

I'll lessen the bend a bit on the main gear strut, so the wheels are vertical, tomorrow, then work out the gear door closing. Once I get these final engineering things squared away, I'll touch up the parts with some primer, then I 'll paint them for test flights.
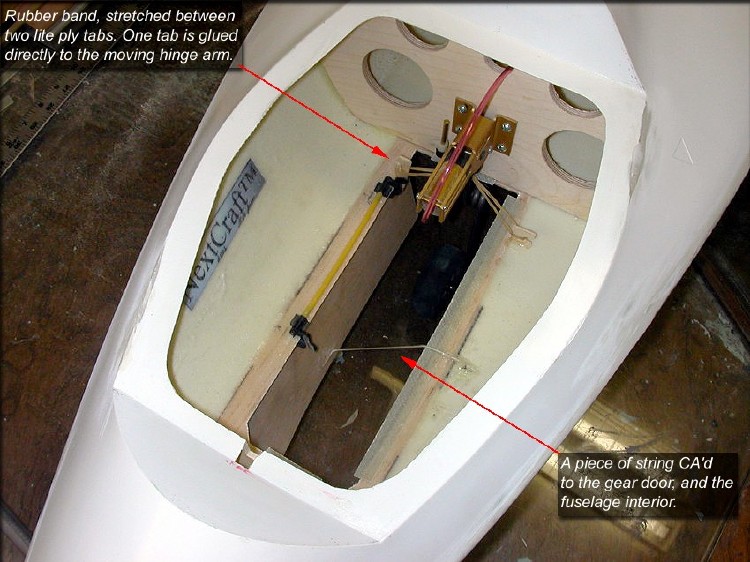
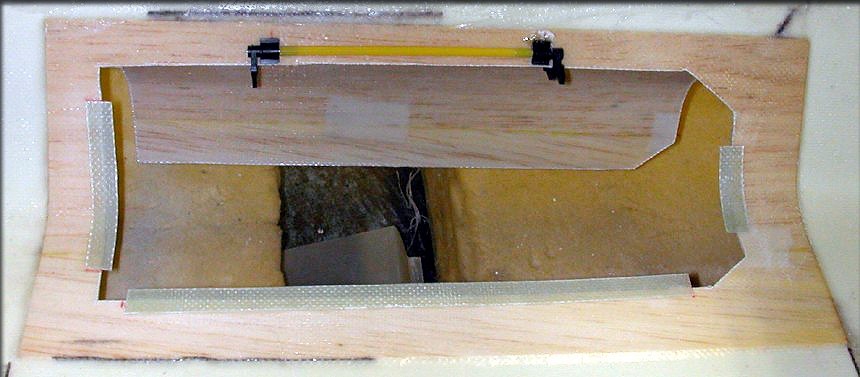
Here's a simple way to rig "automatic" gear doors, without separate actuators. A couple of simple lite ply tabs hold a rubber band, which forces the gear doors to the open position. When the gear strut comes up, it pulls the string, which shuts the door.
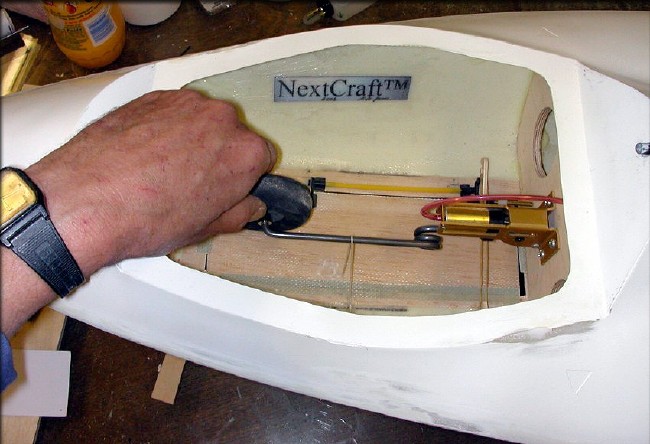
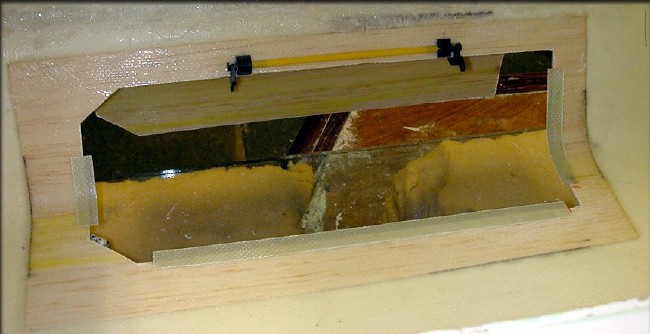
The door in the closed position. This is how you determine the length of the string. This apparently-fragile arrangement has held up through at least 100 gear cycles so far, in testing. If you've ever seen the way Spring Air retracts "slam" up, (Keep your fingers out of the way!) you know this arrangement is quite durable.
Click the "Construction 10" link below to continue.
- Design
- Development
- Simulator Tests
- Construction 01
- Construction 02
- Construction 03
- Construction 04
- Construction 05
- Construction 06
- Construction 07
- Construction 08
- Construction 09
- Construction 10