- Design
- Development
- Simulator Tests
- Construction 01
- Construction 02
- Construction 03
- Construction 04
- Construction 05
- Construction 06
- Construction 07
- Construction 08
- Construction 09
- Construction 10
Construction 02
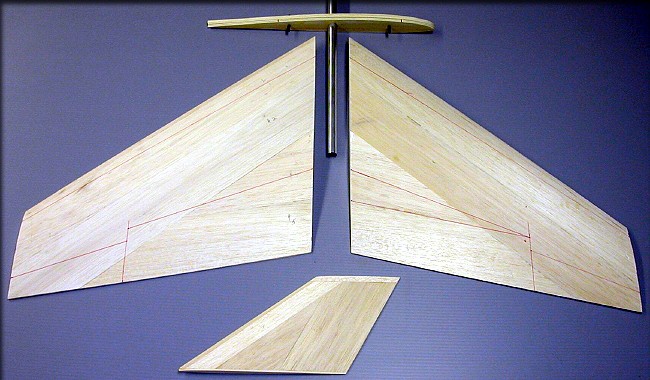
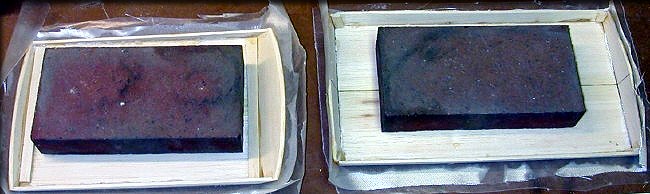
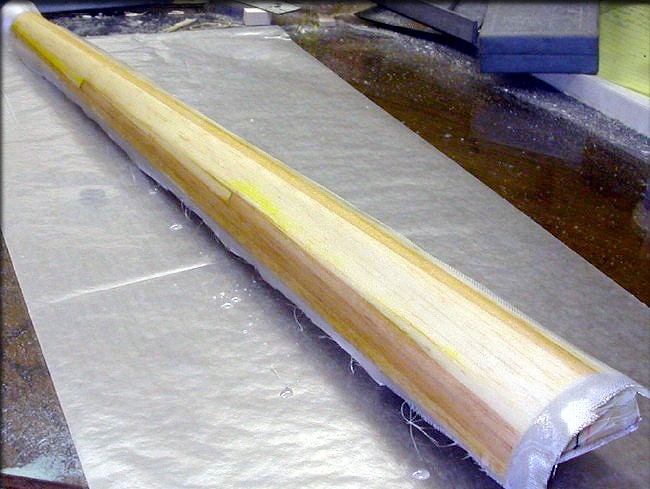
First, we cut some very large billets of foam, to create oversize blanks, (below) then cut the wing and tail cores. This is an easy step to do, using cardboard templates of the wings, and letting gravity simply pull the wire through the foam.
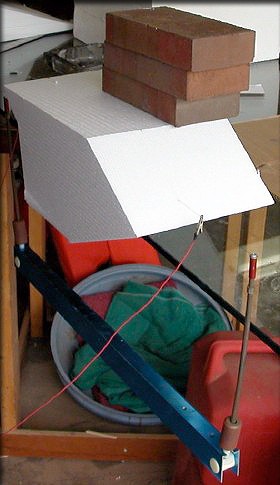

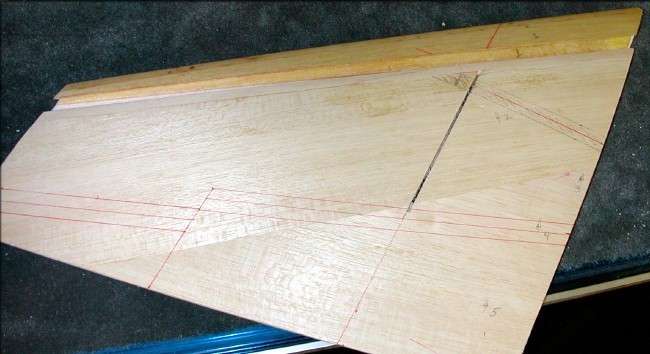
In the photo above you can see the wing template sitting on top of the foam block, used to mark the block. Then we simply let gravity pull the hot wire through the foam. Following that, we did the same operation in the other axis, creating enough foam "blanks" to make several wings.
I decided to cut a complete "standard" set of cores, along with one extra wing panel, which I'll use to test some ideas for the LEF ("Leading Edge Flap") geometry and linkages. That information will appear alongside the construction article, as it develops.
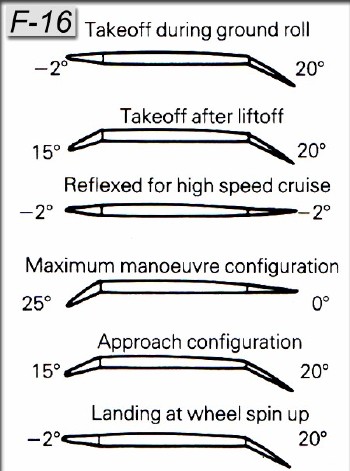
I intend to use something like this on my version of the "Eliminator 2", along with other flight control integration. If practical for production, we may offer it as a kit option.

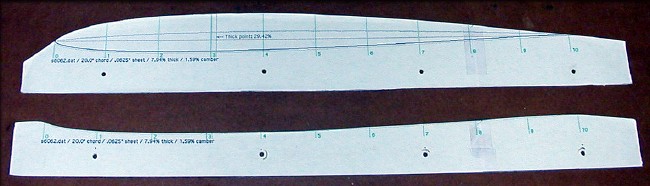
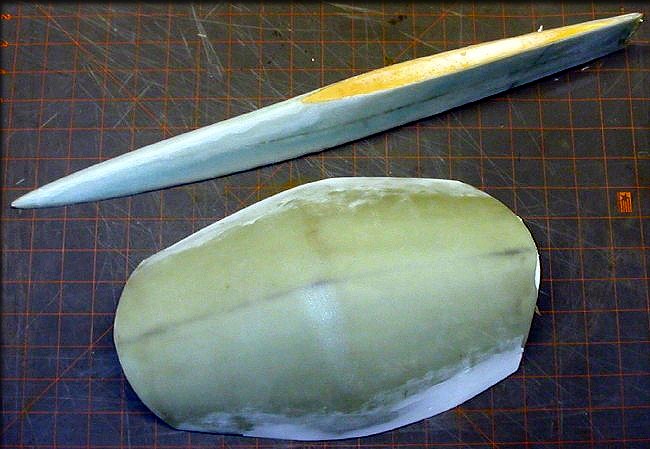
The templates were created on a computer airfoil plotter, then cut from formica. (Root section of the main wing airfoil shown here) Using the Tekoa "Feathercut" machine, we create the foam cores by cutting the bottom first, then the top. (two seperate templates.) Believe it or not, we wasted NO foam. The first cuts were right!
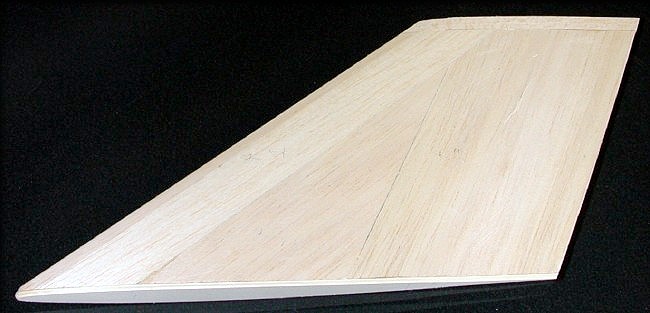
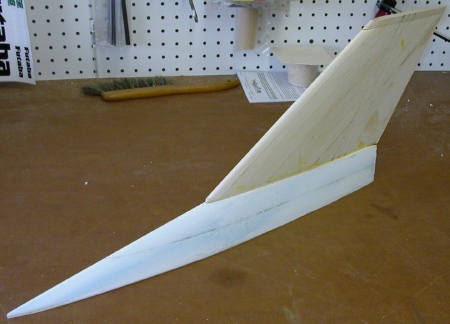
First core to be sheeted was this vertical stab.
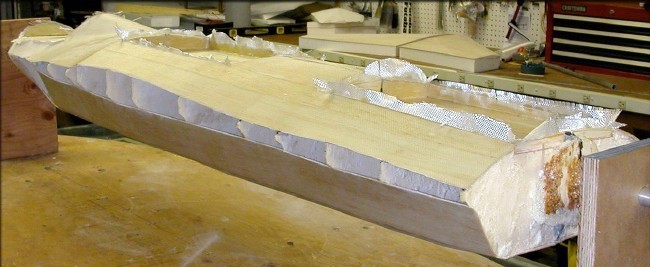
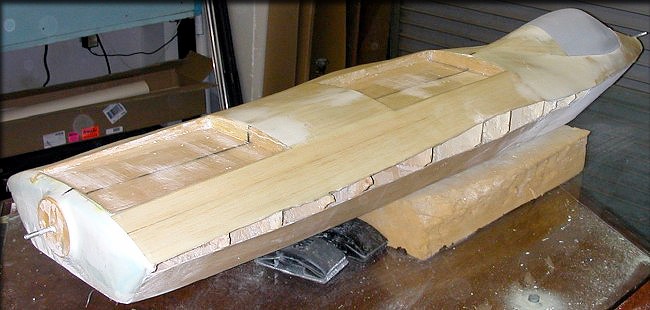
Wings are sheeted, and root ribs with sockets and alignment pins created.
In the background, I'm also working on a test of the leading edge flap version for my own personal use.
These are usually complex to rig, and probably will only be a " advanced builder's option" in the production kits. In other words, we'll provide instructions on how to create these, but will probably not do the fabrication or rigging.
The entire fuselage plug has been glassed, including the hatch interiors.
Once the wing and stab root alignment has been verified, the sides will be closed up for molding.
The dorsal fin plug has been shaped, and is ready for glassing.
These are the front and rear hatch plugs, in their beginning stages.
Can you guess what this is? (I'll show you later in the article.)
Canopy and dorsal fin plugs getting another filler/sanding treatment.
The fuselage and canopy plugs are in pretty good shape. Hatches are next.
The sides are still open because the proper wing and stab tubes haven't arrived yet, required for alignment.

A little primer to see how the shape's doing...

The shape looks good. Small bits of filler here and there, and more primer, till it's right.
Click the "Construction 03" link below to continue...
- Design
- Development
- Simulator Tests
- Construction 01
- Construction 02
- Construction 03
- Construction 04
- Construction 05
- Construction 06
- Construction 07
- Construction 08
- Construction 09
- Construction 10