- Design
- Development
- Simulator Tests
- Construction 01
- Construction 02
- Construction 03
- Construction 04
- Construction 05
- Construction 06
- Construction 07
- Construction 08
- Construction 09
- Construction 10
Construction 04

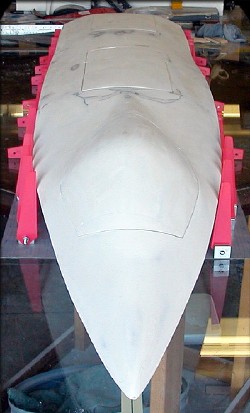
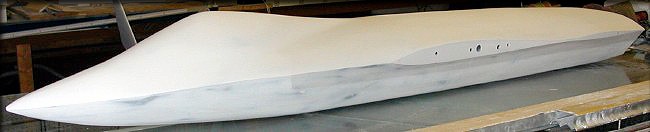
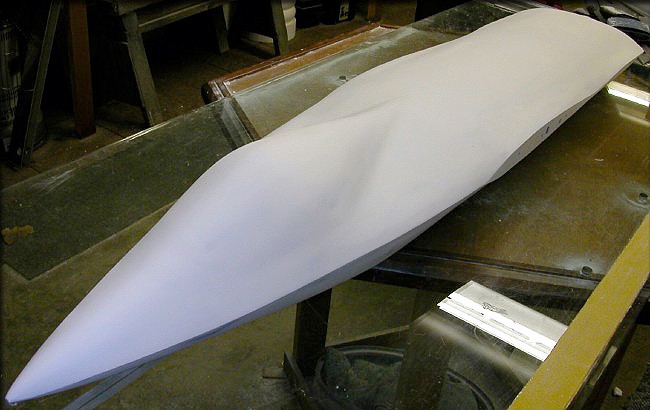
Fuselage sides are closed up, and I'm detailing the blending of the fuselage

Once I get the whole plane in primer again, the shape will be clearer.
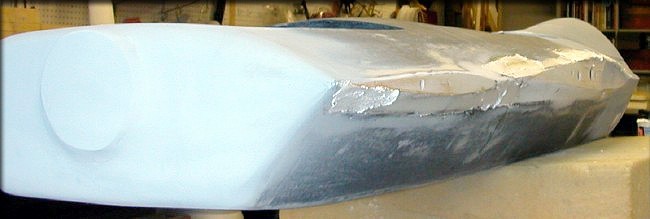
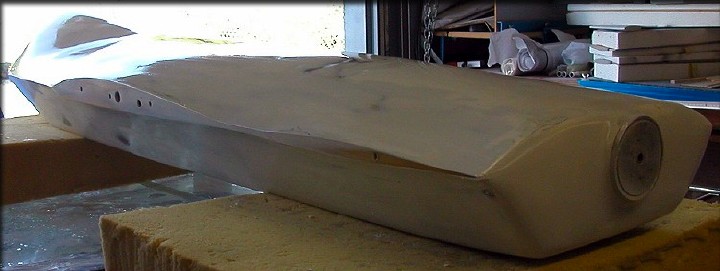
Small amounts of epoxy and microballoons are used here for filling. I want the plug to be durable at the end.
Soft fillers would be easier to sand, but would make the plug easier to damage later.
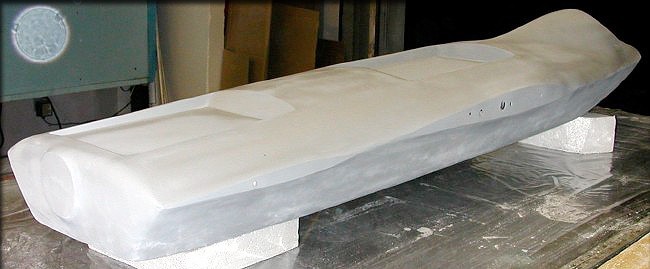
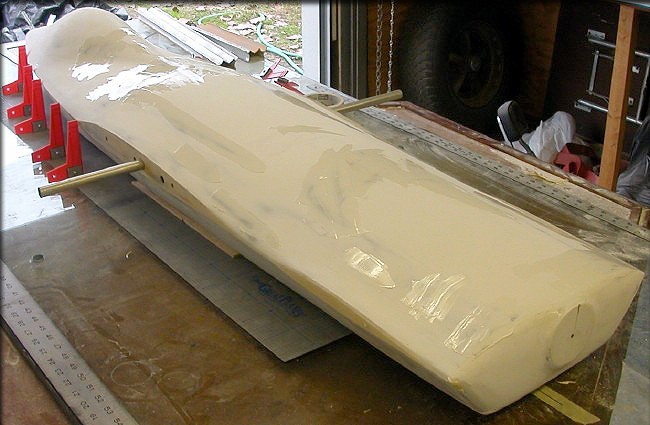
All the sanding is starting to pay off with a nice shape.
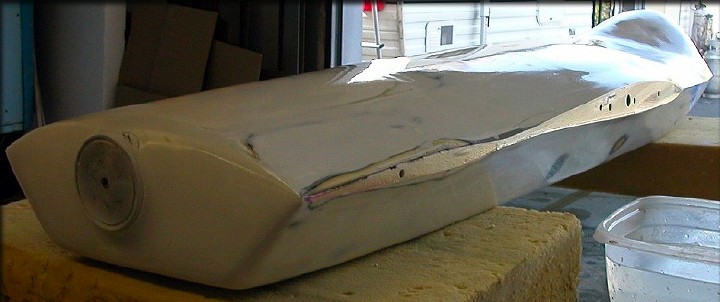
The shapes have been checked over and over, and it's now close enough that I'm ready to start working on the final finish. Since this airplane has some sharp edges, I'll be using tooling resin as the final surface. This is very tough to sand, but it's a little extra insurance that the plug won't be damaged when I make molds.
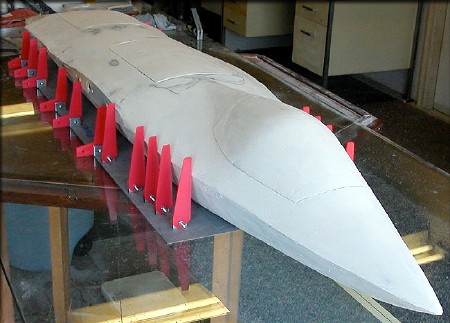
Time for another symmetry check. A Great Planes magnetic building board was positioned over a taped-down centerline on the building table. Next, the plug was positioned on the centerline. Then, using the layout lines on the magnetic building board, along with the included fixtures and some squares, I was able to spot all anomolies and correct them. It's vital that the fuselage sides be flat, where the wings and stabilators attach, and also parallel in the top view.
After the wing/stabilator area is finalized, the same procedure will be done to make sure the nose/chine parts are symmetrical.
Hatch plugs and canopy plug attached, the last bits of filler are added, while aligning the chine.
All hatches, and the canopy will fit with almost no visible seam. The interior edges of the hatch flanges are angled inward too.
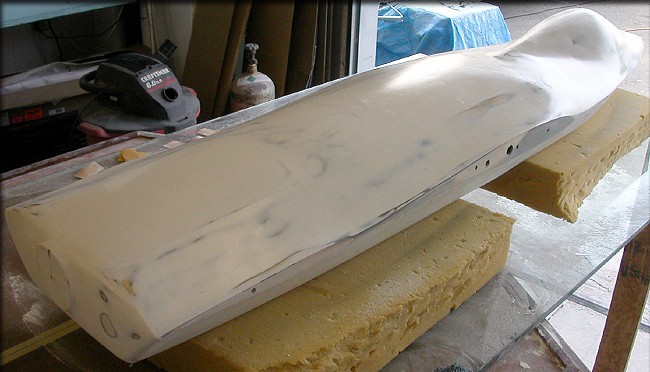
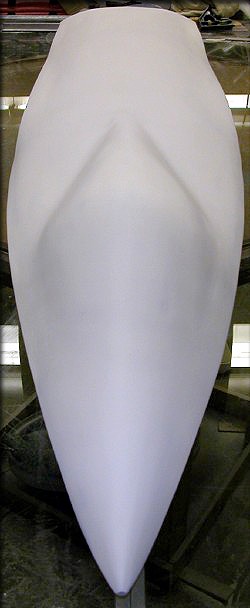
Sometime later... Starting to wet-sand the surface now, heading toward a final finish.
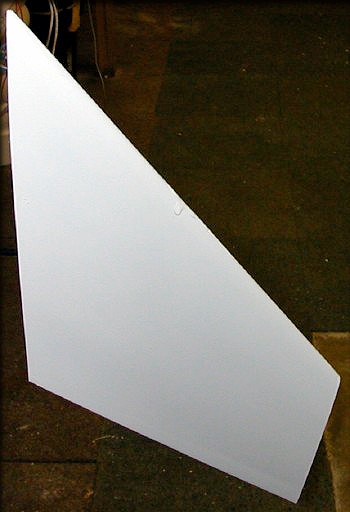
I decided to mold the entire aircraft. Here is the combined plug for the vertical fin/rudder/dorsal fin
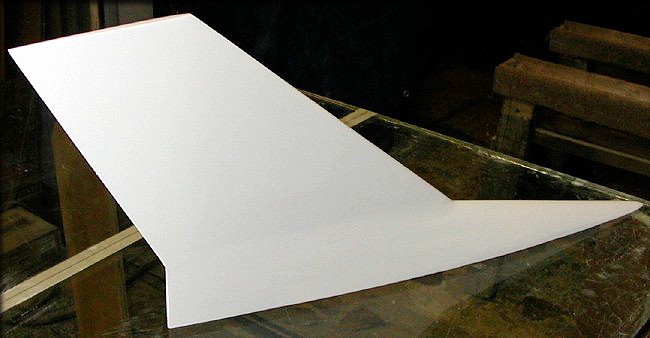
Here's the plug for the horizontal stabilizers.
After some wet sanding..
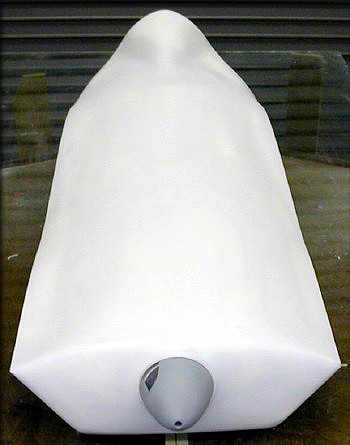
Notice how the canopy plug and two fuselage hatches have virtually no seam visible.
Wet sanding, for the final pre-molding finish...
Another day or two of this, and I'll be separating the fuselage hatches and canopy plug... Almost there.
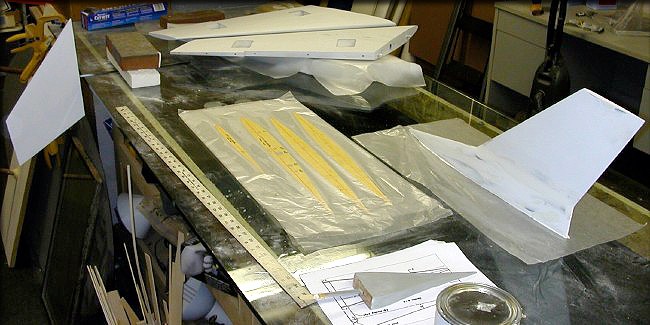
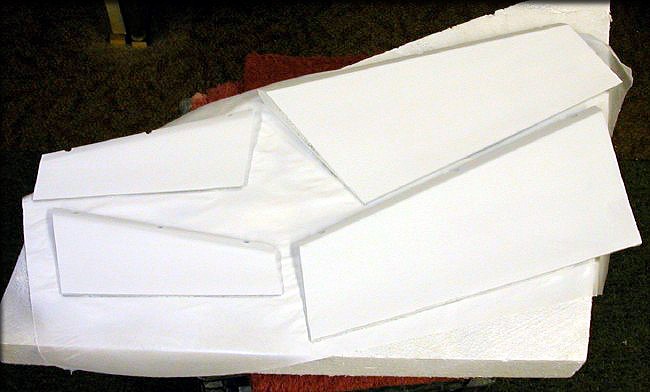
While waiting on some tooling resin to cure on the fuselage, i've been working on the other parts.
Here are the plugs for the stabilators and vertical fin/dorsal, as well as some "Master" templates, the wings, and the NACA inlets.
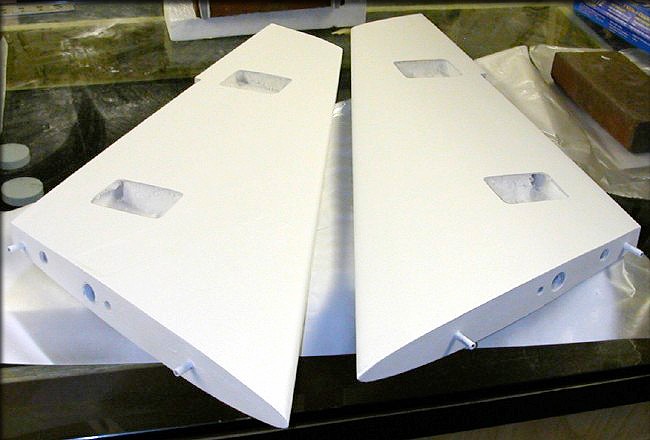
Molded servo hatches will be included in the final kit. (wing bottom)
The white color here is primer, not paint.
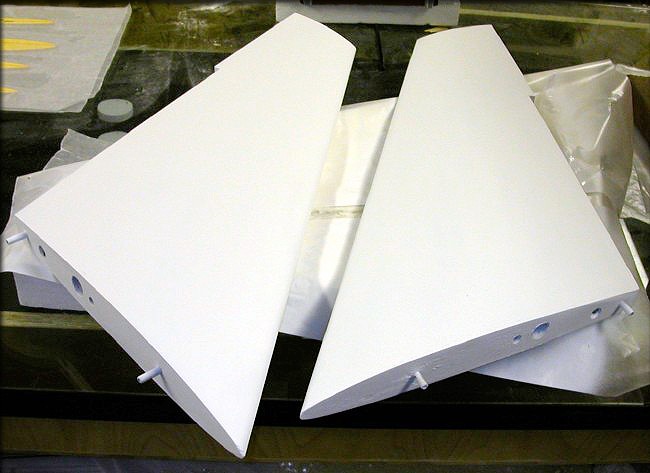
Wing top surfaces primed
Flaps and ailerons primed
Click the "Construction 05" link below to continue...
- Design
- Development
- Simulator Tests
- Construction 01
- Construction 02
- Construction 03
- Construction 04
- Construction 05
- Construction 06
- Construction 07
- Construction 08
- Construction 09
- Construction 10