Making a Composite Cowling
(Lots of photos to load here...)
Here's the method I've used to create several cowlings in the past, including the one for the 1/3rd scale Berkut-Long EZ. The cowling shown in this example is for a pusher-powered aircraft, but the same method can be used for almost any cowling.
|
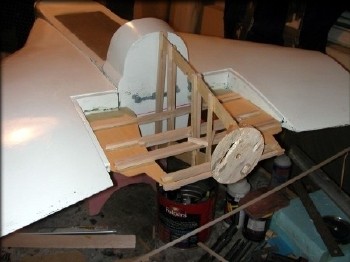
A simple wooden frame was used to insure aligment of the (4") spinner backplate, based on the actual drawn plans. I had patterns I could use as external templates to check the shape, so a lot of detail wasn't required in this frame. In this case, the engine was supposed to have two degrees of upthrust, so the frame insured that the spinner backplate was at that angle.
|
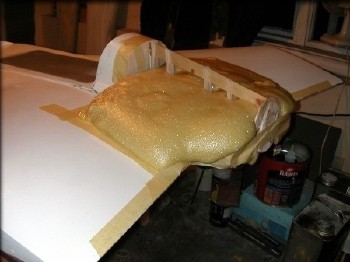
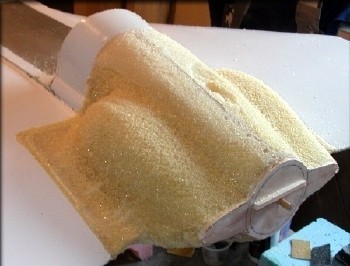
First, the perimeter of the cowling area was taped off with masking tape, then 2-part urethane foam was poured into the form. The foam won't stick permanently to the waxed fuselage plug, so this isn't as scary as it looks. As it turned out, I was careful enough that no foam went past my masking tape boundary, and no foam got on the fuselage plug anyway.
|
|
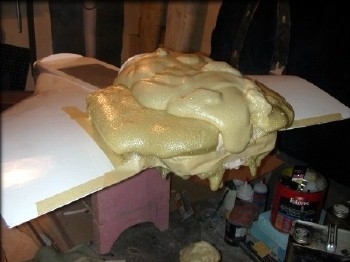
A little more foam was added, to cover the top of the frame.
|
Rougly shaping the cowling to this stage took only a few minutes, and was very easy.
|
|
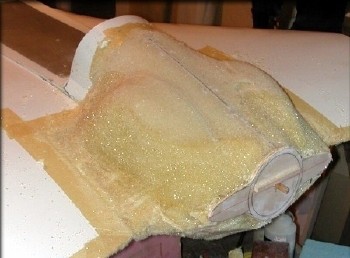
After a little more shaping, it starts to look right. This cowling is unusual, in that in includes a wing-shaped part on each side.
|
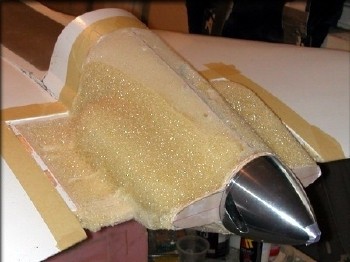
I attached the spinner to make sure the cowling blended well.
|
|
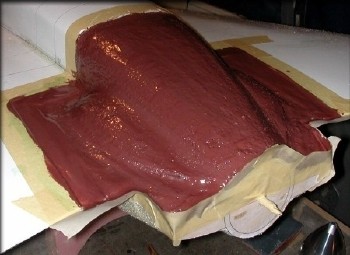
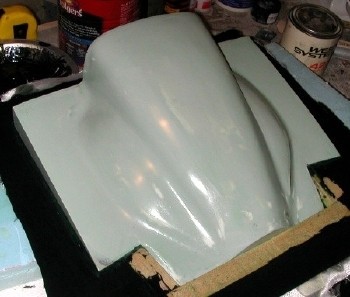
First "sealer coat" to toughen up the foam, was a thick mixture of epoxy and phenolic micro balloons. This stuff is a lot easier to sand than glass micro balloons. Once this was cured, the whole plug was removed from the fuselage for shaping. As shaping was going on, I could re-attach the plug to the fuselage, to check the fit every once in a while.
|
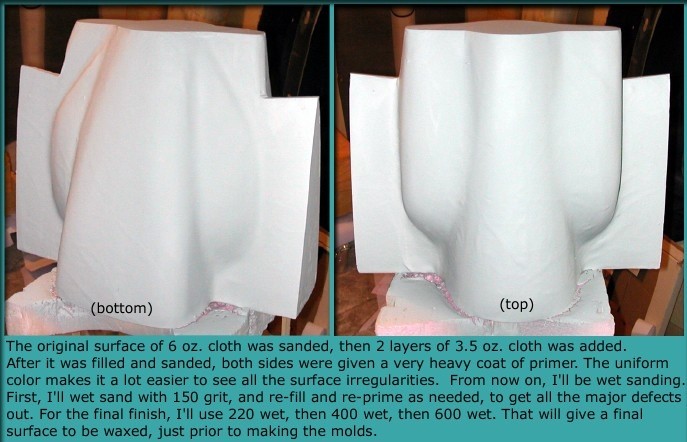
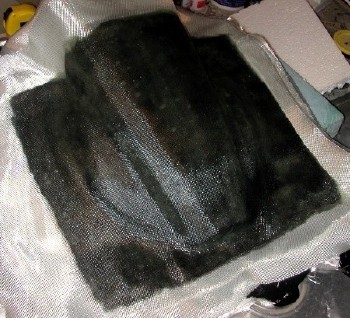
With the shape roughly correct, the whole plug was glassed with two layers of 6 oz. cloth, followed by two layers of 3.5 oz. cloth.
|
|
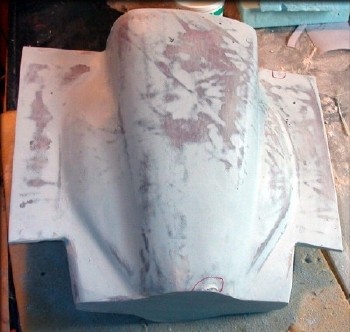
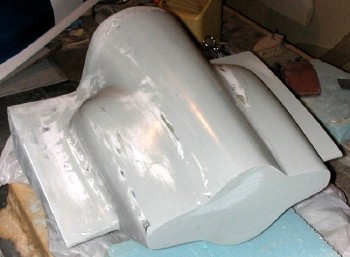
Here's where the long and repetitive process of priming, sanding, and filling starts. This might be done in one cycle, or it might take ten. Just keep doing it until you're done.
|
It's not always visible in photos like this, but there are plenty of imperfections left to fix, easily seen in a bright light.
|
|
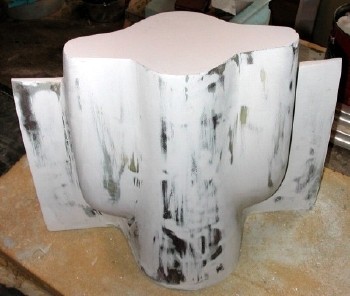
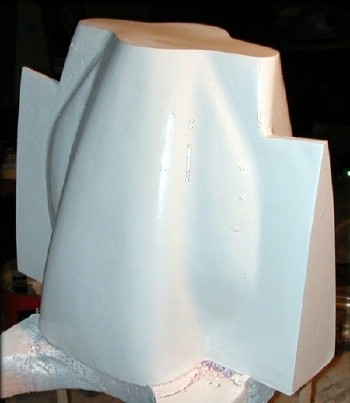
Every time you sand the plug, you should remove most of the primer. When the different colors begin to make it difficult to see what imperfections are left, another coat of primer can be sprayed, and the uniform color helps show the shape better.
|
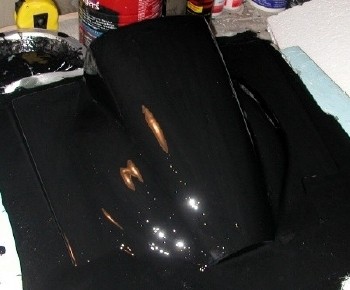
I've been wet-sanding the plug, and although it's dry in these photos, you can see that the surface is beginning to be smooth enough to shine. That's what you want, over the entire surface. (if that's what the original parts look like)
|
|
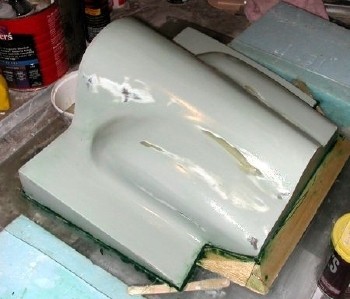
Finally done, the plug is inserted into the parting board, waxed, and given a coat of PVA, in preparation for making the first mold half.
|
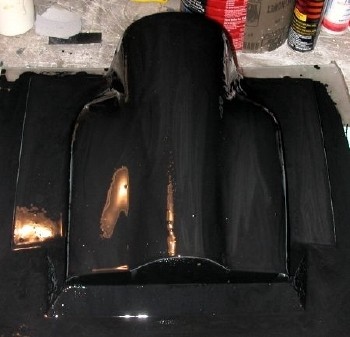
The budget didn't allow for more tooling resin, so as a substitute, I used a mixture of West Systems epoxy and graphite powder. This is acceptable for short-term molds, but not ideal.
|
|
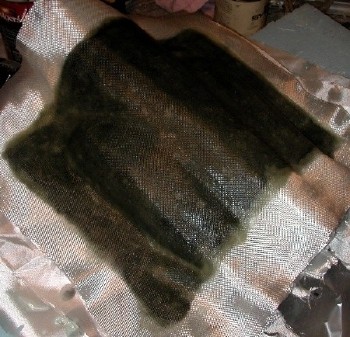
After the tooling resin had tacked in a little, several layers of 3.5 oz cloth were added, then many layers of heavy (6 oz.) cloth were added, to build up the mold thickness to about 1/4 inch.
|
When the first half of the mold had cured, the assembly was flipped over, and the parting board removed, exposing the new mold flange just created. The whole assembly was waxed and given a coat of PVA, in preparation for laying up the second mold half.
|
|
As before, the surface coat goes on first, and is allowed to tack in a little, before adding any cloth. Don't disturb the surface coat.
|
Same layup method as the first half of the mold. Take your time, and try to remove as many air bubbles as possible, by carefully "burnishing" the cloth down with a stippling motion of the brush.
|
|
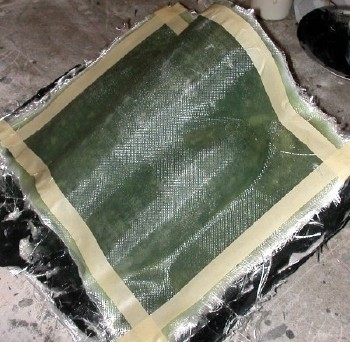
The masking tape here, applied after the mold had cured, is just to give me a guidline on where to trim the mold perimeter. This was done first with scissors, then finally with a Dremel tool, using a drum sander.
|
About this method:
This cowling mold was created with a limited budget, and so without tooling resin as a mold surface, the molds aren't going to last as long. But, if you're only going to produce a few parts, or if you intend to make more molds from your plugs later, it's an acceptable way to get something done fast.
The plugs are the more valuable comodity in this business, because with good plugs, molds can always be re-done, if needed. If you can only spend money on one thing, spend it on the plugs, and guard them carefully when you're done, so they don't get dinged.
|
|
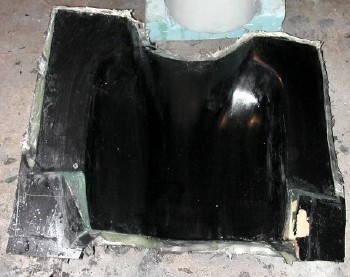
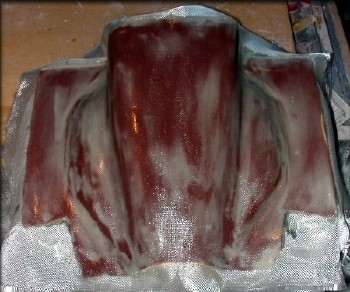
Here's the mold half for the cowling top. In this case, the cowling for the model would be made in two parts, (not joined until after engine installation, by the builder) so no alignment "pegs" or bolts were required, like you would use for a fuselge.
|
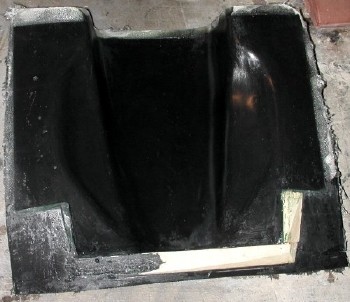
And here's the mold half for the cowling bottom.
|
This project was always handicapped by a limited budget, so I tried to make the best of what I had. I hope this article will help some of you with your own projects, and provide some shortcuts that can be used if you have the need. Good luck with your own projects, and have fun!
- Mike James
For more information on composites, including making molds from these plugs, see below...
How To: Large Composite kit | Composite Canopy | Composite Cowling | Composite Wheelpants
Unless otherwise noted, all content on this site is ©Copyright by Mike James - www.mikejamesmedia.com - All Rights Reserved
NOTE: I am not at liberty to redistribute any of the documentation used to build any of the 3D models on this site.