Making a Composite Canopy
Here's the method I've used to create several canopies in the past, including the one for the 1/3rd scale Berkut-Long EZ.
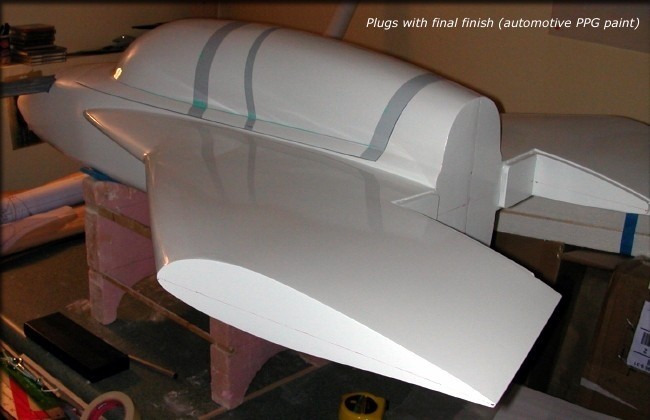
The idea was to create a plug which would be used to fabricate a composite canopy, as well as a vacuum-formed clear canopy. Since both parts would be made from the same plug, a good fit of the (optional) clear parts of the canopy into the composite frame would be assured. If you do this, be sure that your final surface coat is something that can take the heat and pressure of vacuum-forming, without outgassing. I discovered that the PPG automotive paint used for the final surface coat is not suitable for this purpose, and that a lacquer-based primer is better.
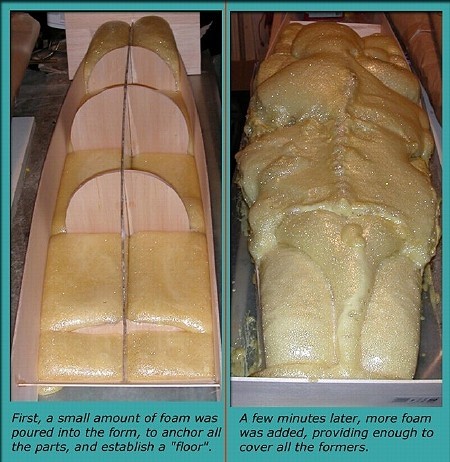
With a limited budget and limited time, a quick, albeit "rougher" method was chosen for this canopy. A basic form was created, then a 2-part expandable urethane foam was poured into the form, sanded, glassed, and finished. Here's how...
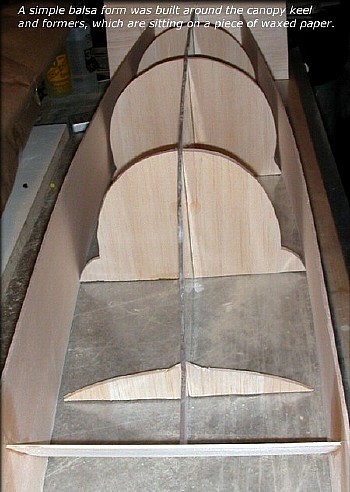
Not many formers used, and no stringers required, since the foam (next) will retain the shape.
Don't let photos like this spook you. This foam is easily shaped and sanded when cured.
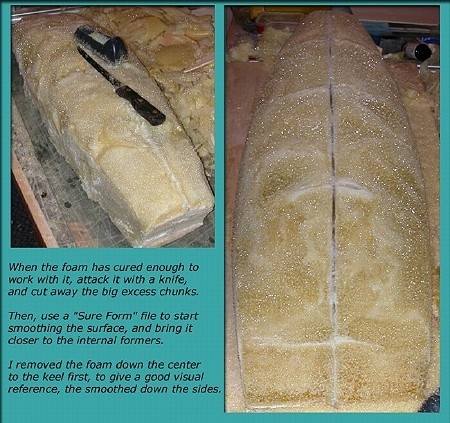
Going from the sloppy overflowed foam to this shape took less than an hour.
Major dings or cavities were filled with more of the same foam, then re-sanded, before being glassed.
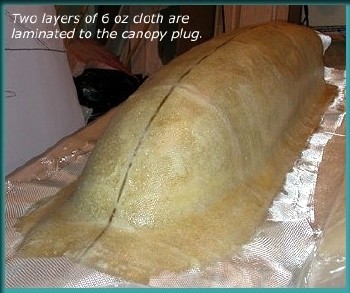
After some initial sanding and filling, 2 layers of 4 oz. cloth were added, to smooth out the surface.
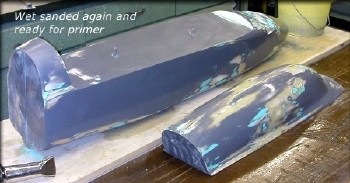
Prime, sand, prime, sand, etc., until done.
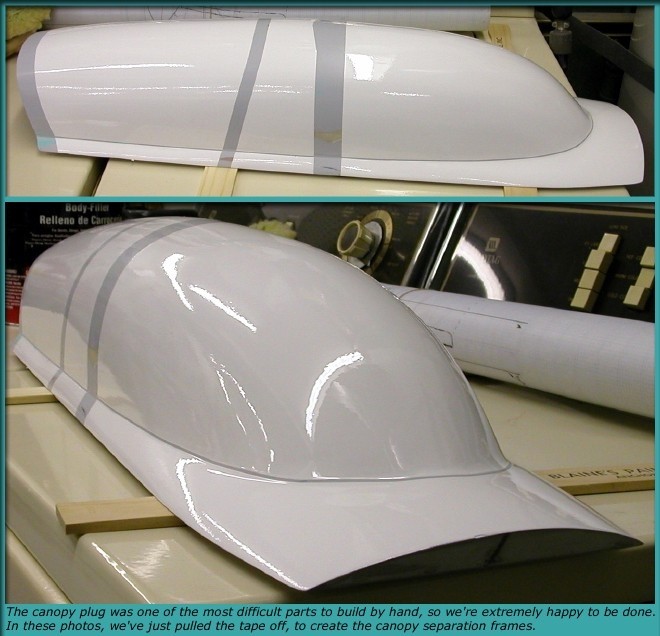
You have to be finicky, since the plug will be used to produce clear parts, which would show any defects.
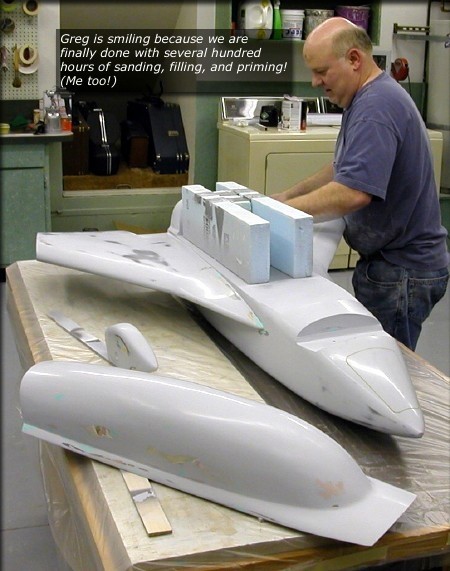
Ready for the final surface coat after many hours of finessing the shape and finish.
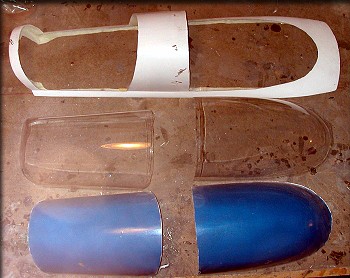
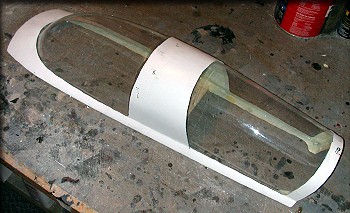
After the molds were created for the composite canopy, fiberglass canopies were produced, which could be used alone, by the non-scale modeler. For those more interested in scale, clear parts were vacuum-formed. (See the main Berkut article for photos of those molds and parts.) Below, I've shown the simple assembly method for a scale look.
|
|
|
For more information on composites, including making molds from these plugs, see below...
How To: Large Composite kit | Composite Canopy | Composite Cowling | Composite Wheelpants